Level 0 - Hello Ethernaut
Source: ethernaut.openzeppelin.com/level/0
Hello Ethernaut is the onboarding level, but it already teaches the habit that matters for the rest of the game: stop trusting the UI, open the console, and read what the contract is actually exposing.
This is not a real exploit challenge yet. It is Ethernaut teaching you how it wants to be played.
Getting Set Up
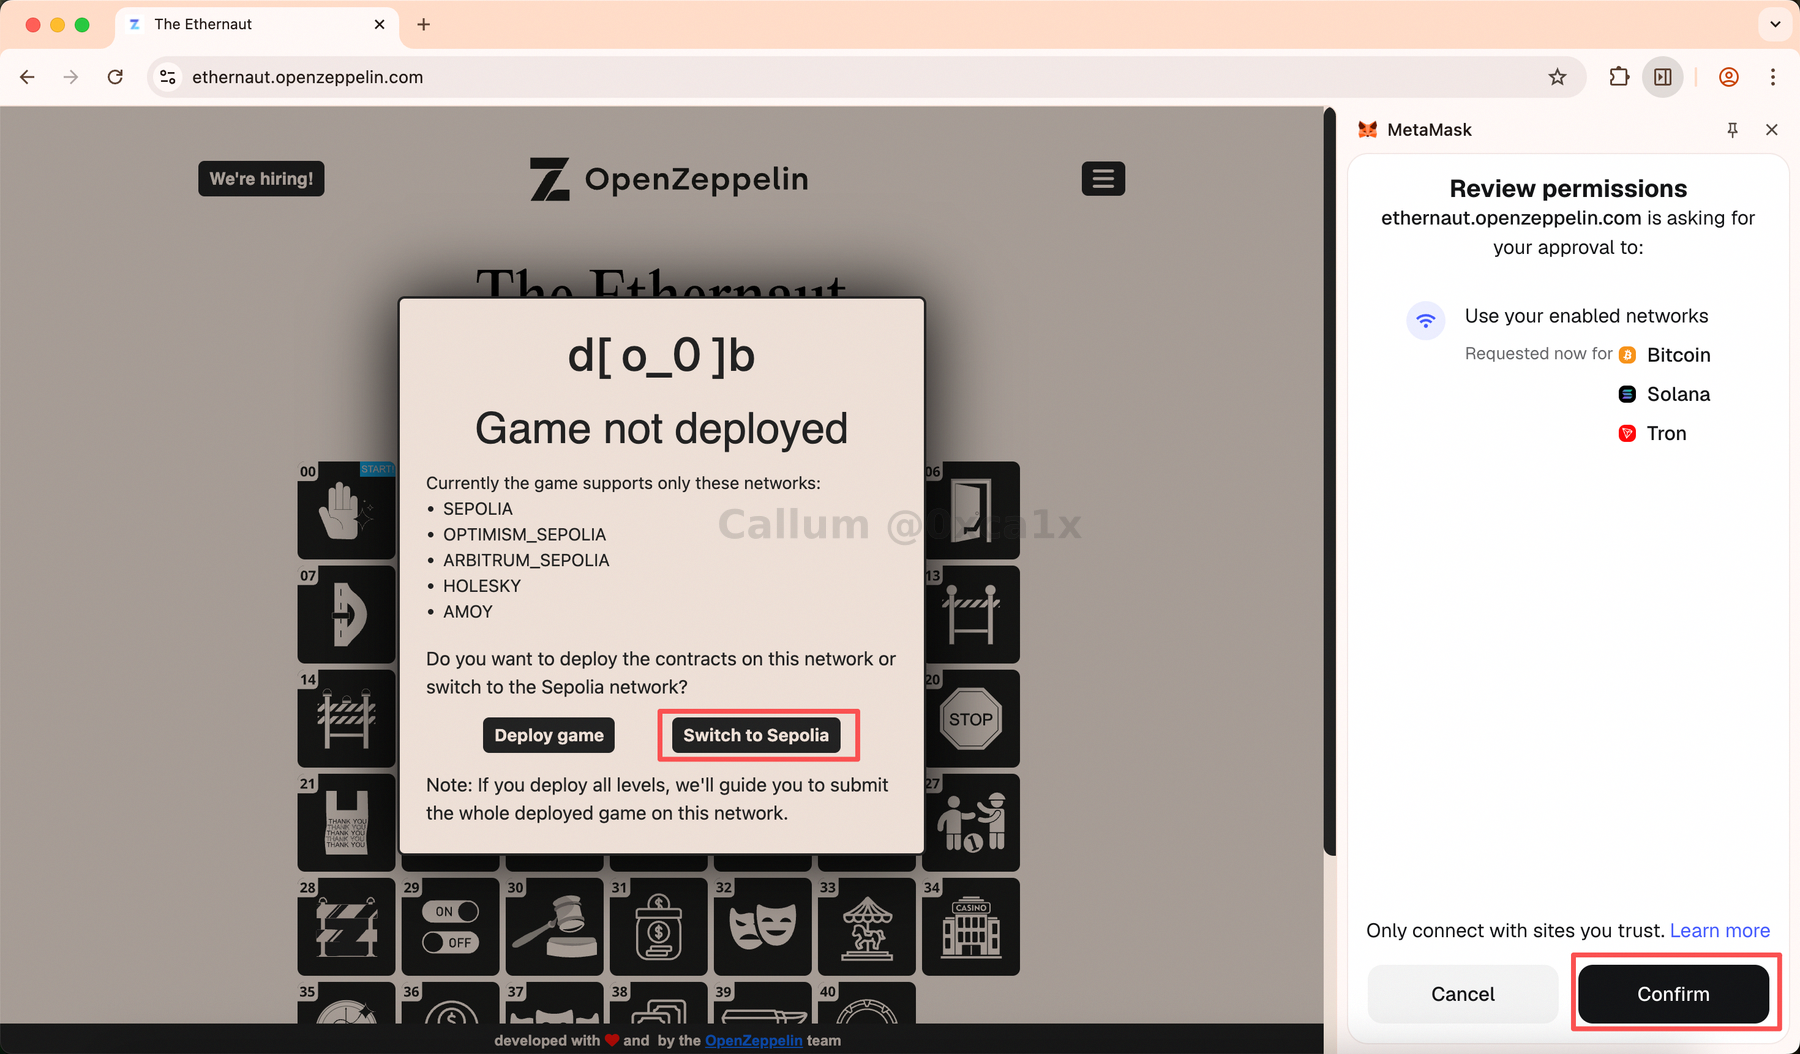
If the page opens in read-only mode, Ethernaut cannot see a wallet yet. The fix is straightforward: install MetaMask, connect it, switch to Sepolia, and fund the account with a bit of test ETH.
You do not need a full wallet tutorial here. The only parts that matter for this level are:
- MetaMask is installed and unlocked
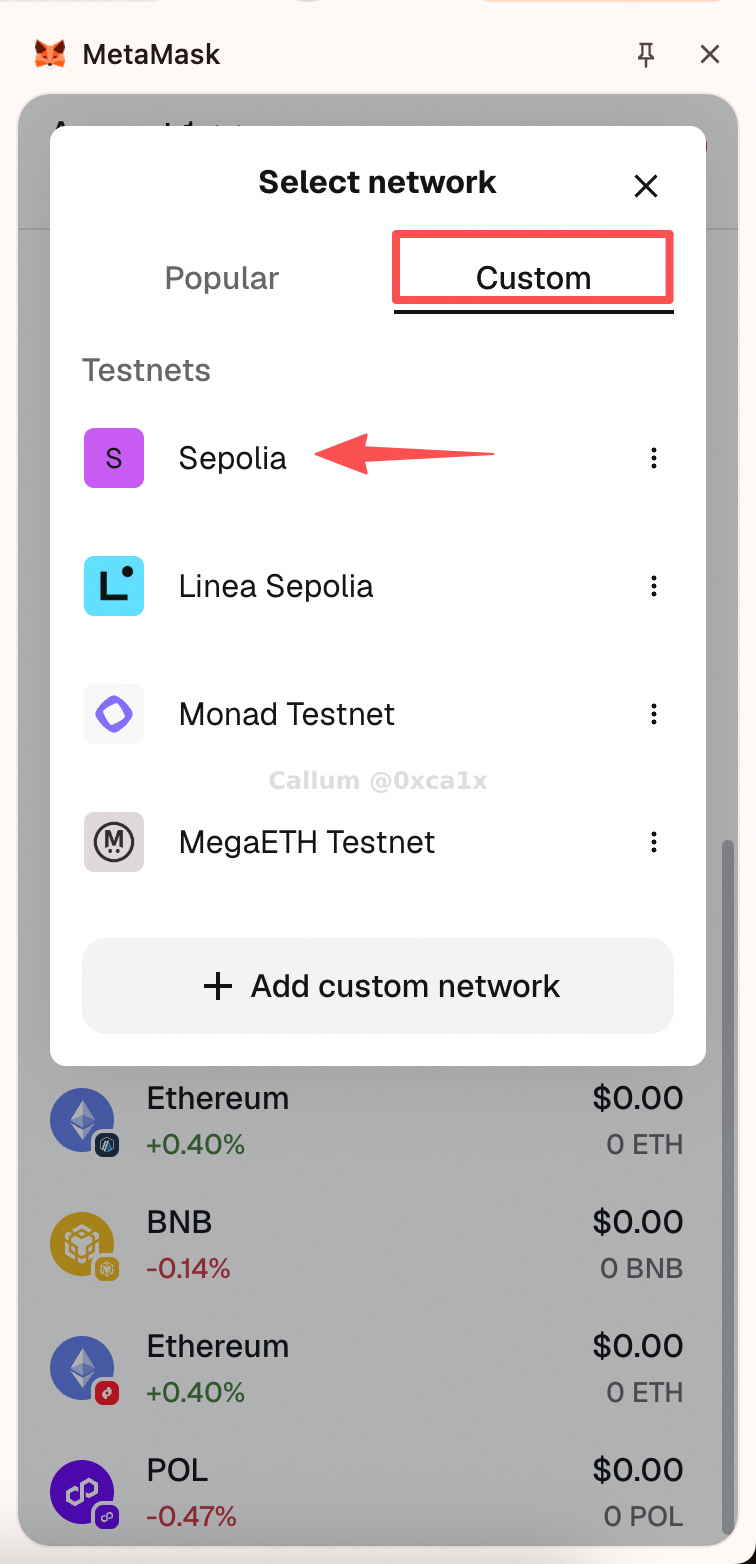
- Sepolia is selected
- the account has enough test ETH to pay for gas
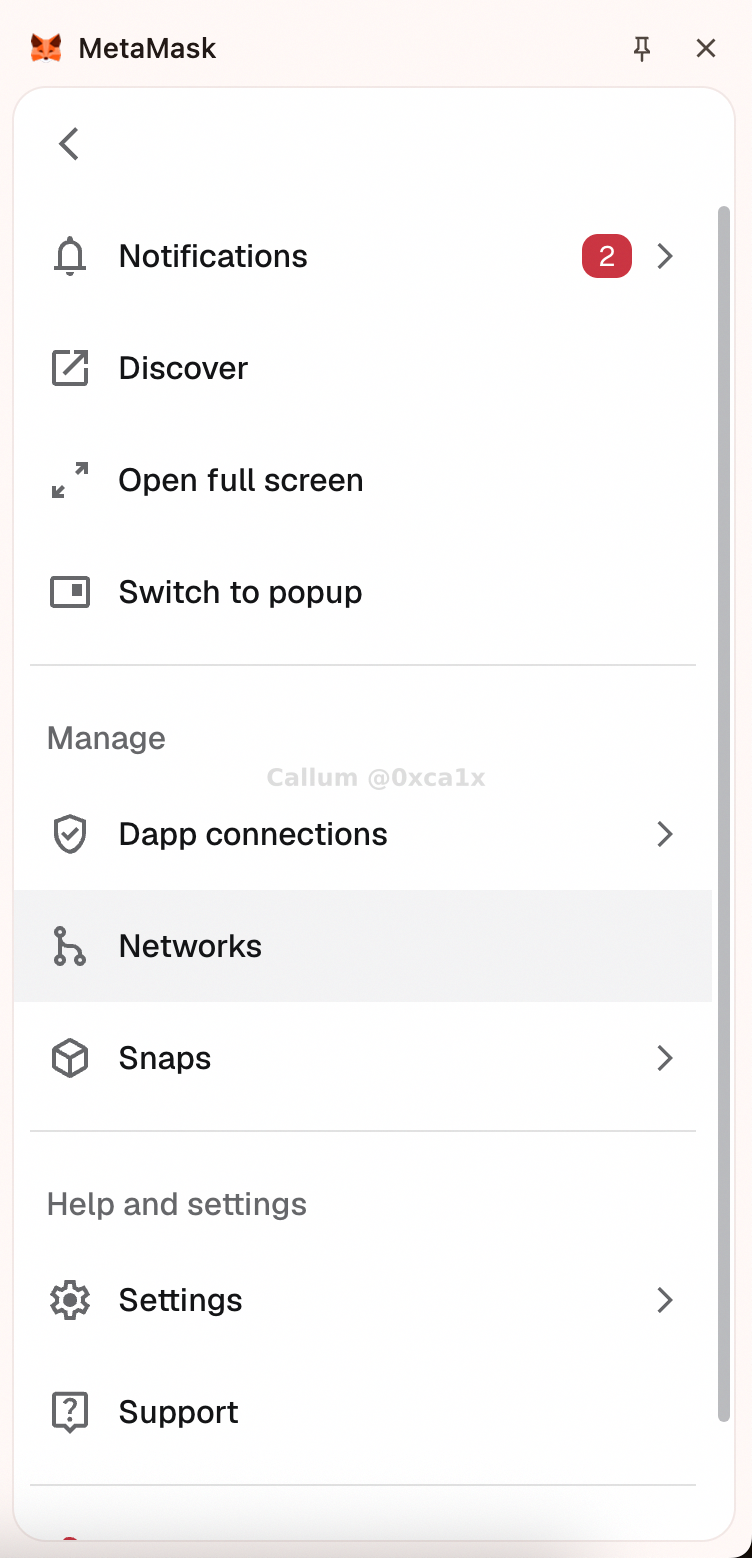
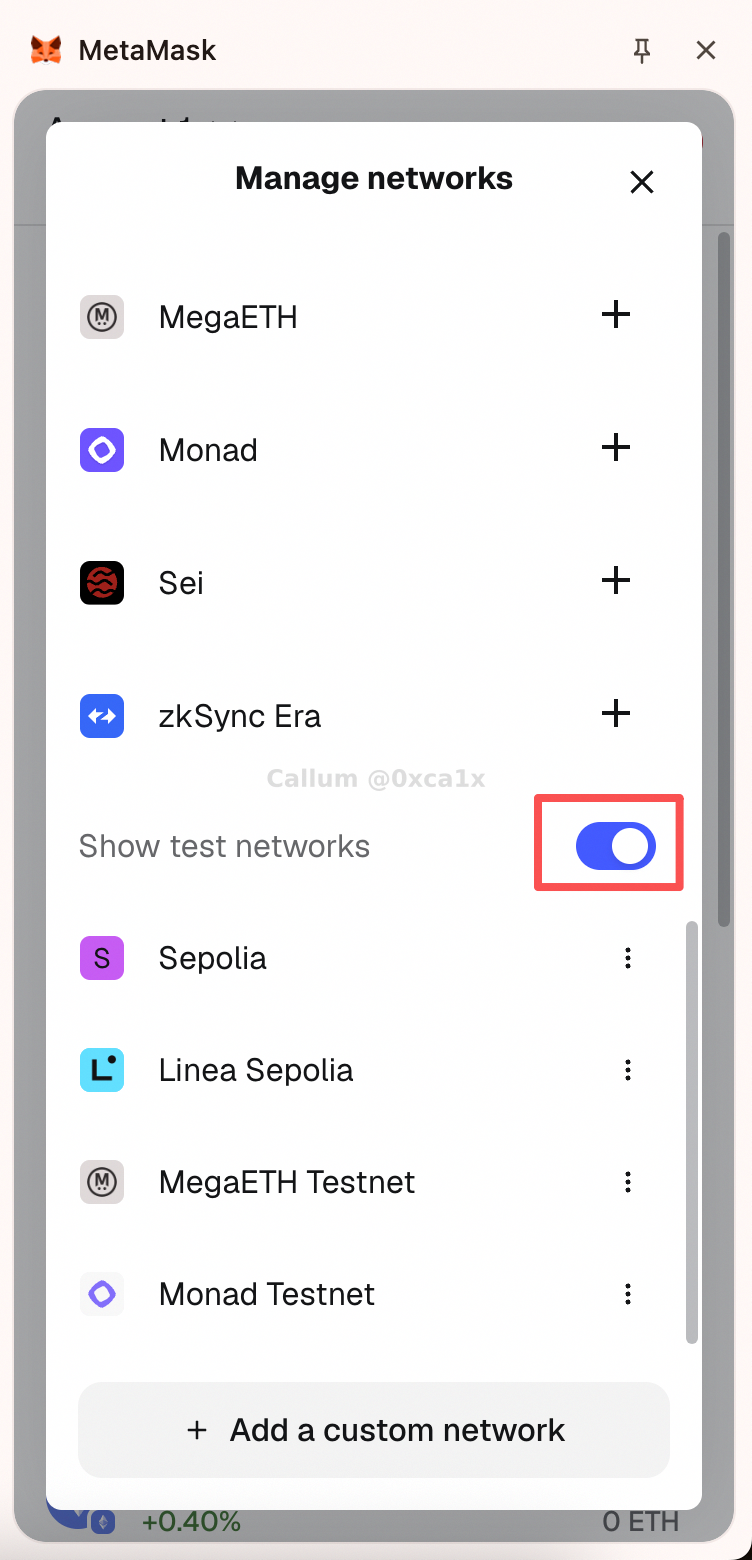
To get to Sepolia, enable hidden test networks first, then switch networks from the wallet home screen.

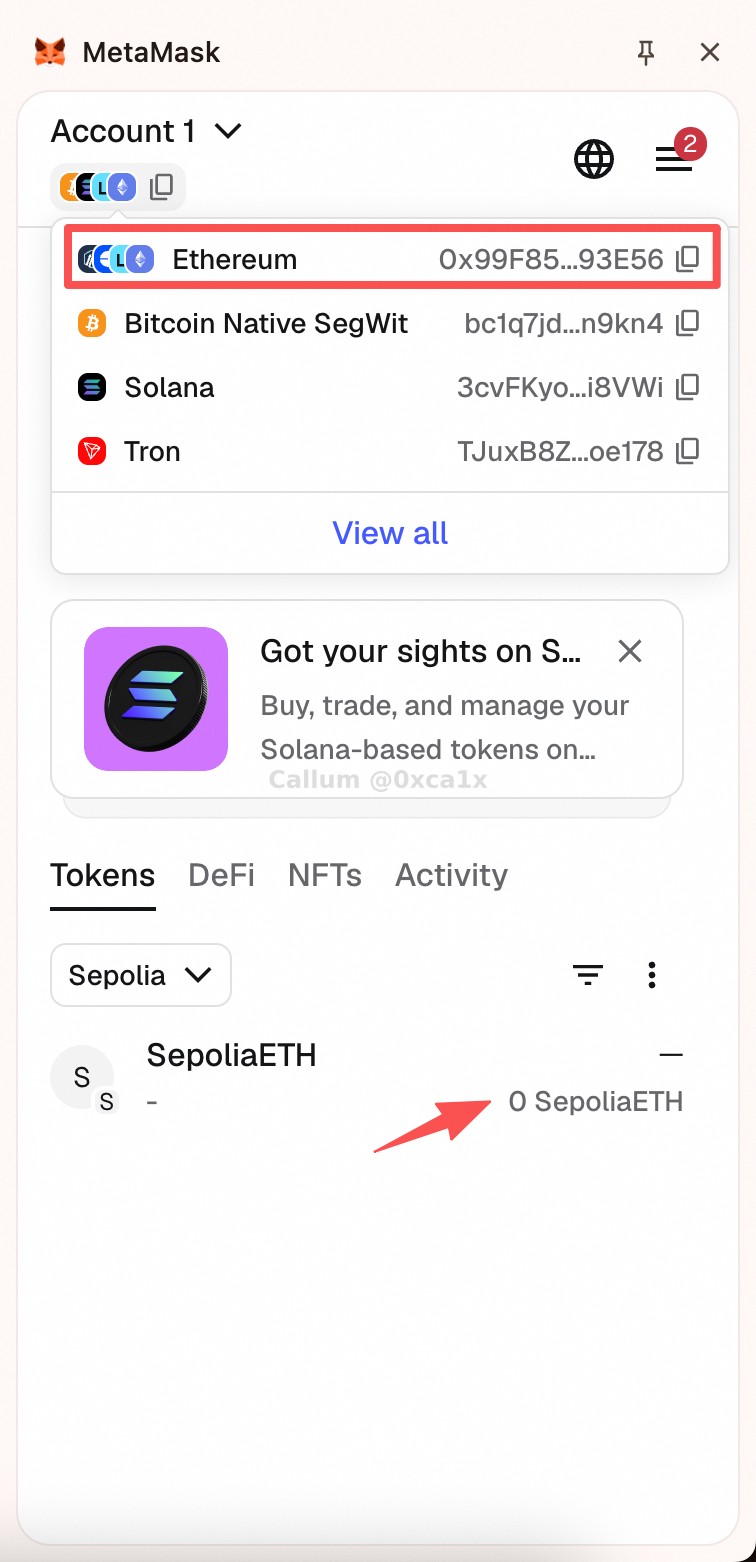
One small point that trips people up the first time: your address is usually the same across Ethereum mainnet and Sepolia. What changes is the network state, not the address itself. Balances, transactions, and contracts are separate per network.
Faucet Notes
Most Sepolia faucets are fine until they are not. The main annoyance is anti-abuse logic: some faucets refuse fresh wallets, some want a logged-in account, and some check for a small amount of mainnet ETH.
The practical fix is simple:
- try a normal faucet first
- if it rejects the wallet, switch to a fallback
- if the wallet is brand new, a browser-based Sepolia PoW faucet is often the path of least resistance
Useful links:
- Alchemy faucets
- Google Cloud Web3 Sepolia faucet
- Coinbase Developer Platform faucets
- Infura faucet
- Sepolia PoW faucet
The Console Is the Real Interface
Once the wallet is connected, open the browser console. That is where Ethernaut stops being a web page and starts behaving like a contract playground.
You should immediately see the level banner, helper text, and the current level address.
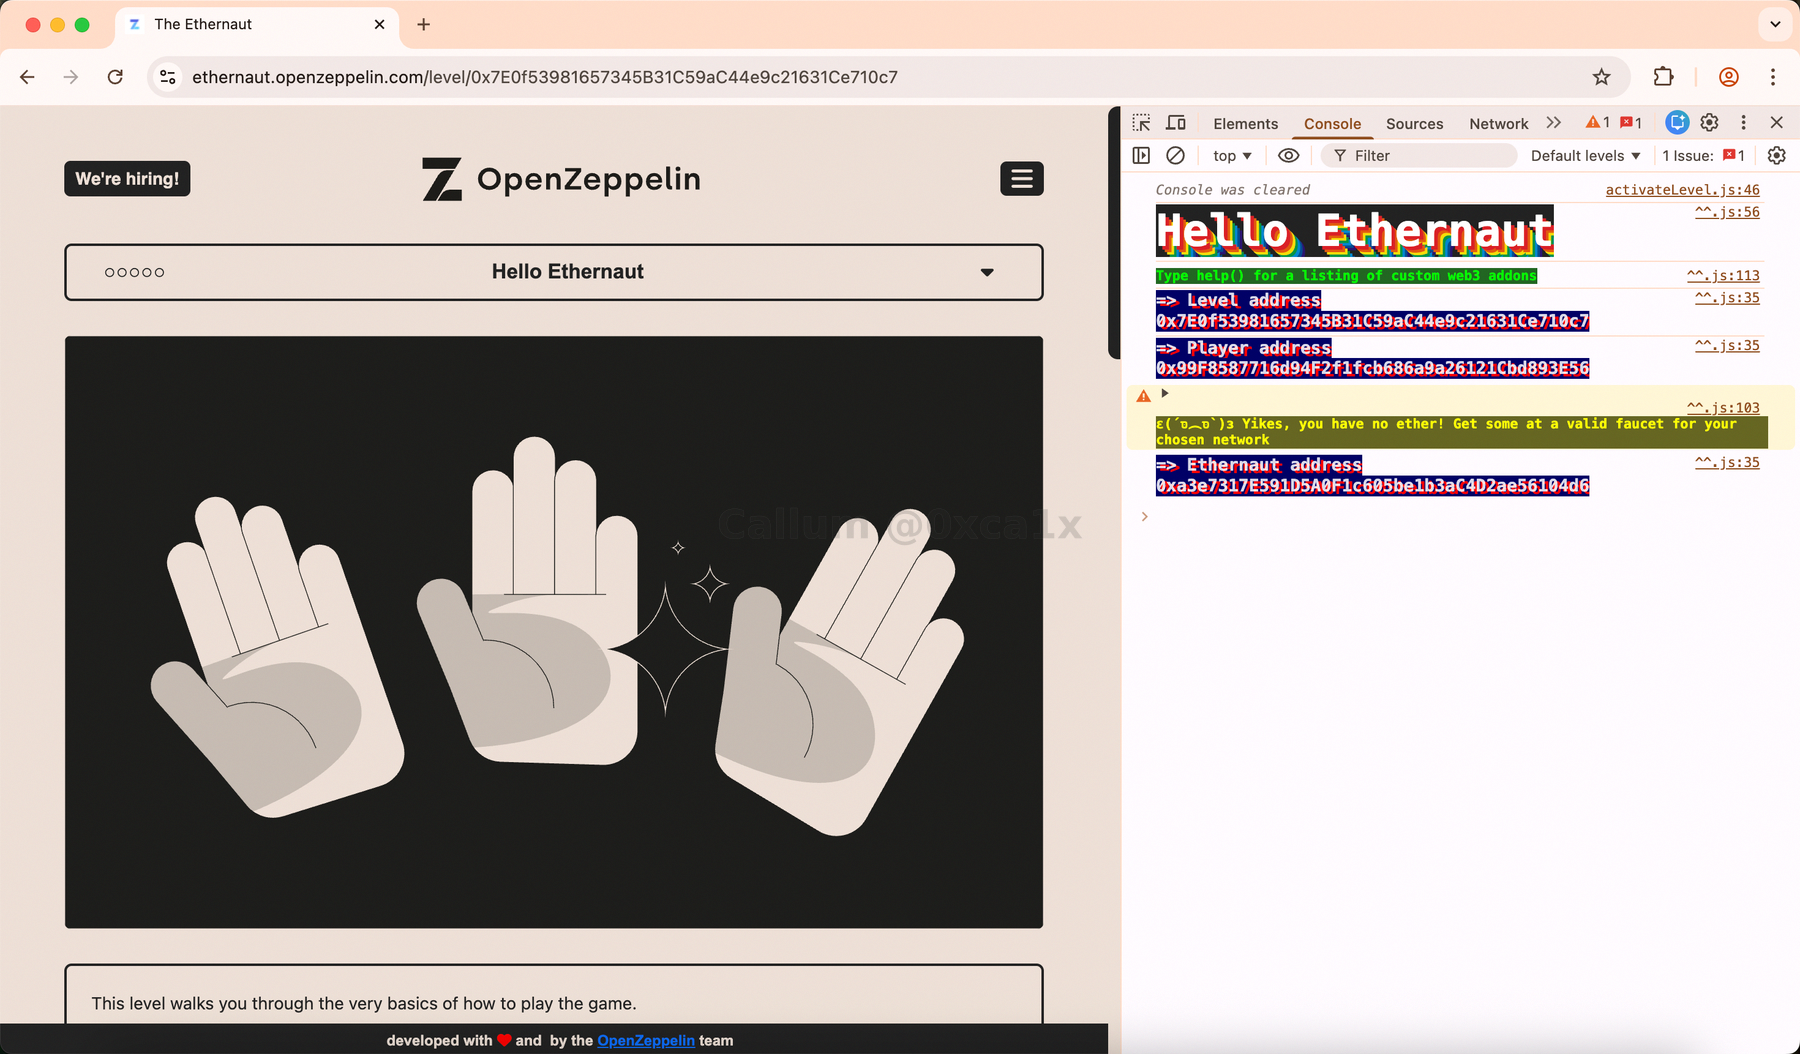
The first helper to check is player:
player
That gives you the connected account address.

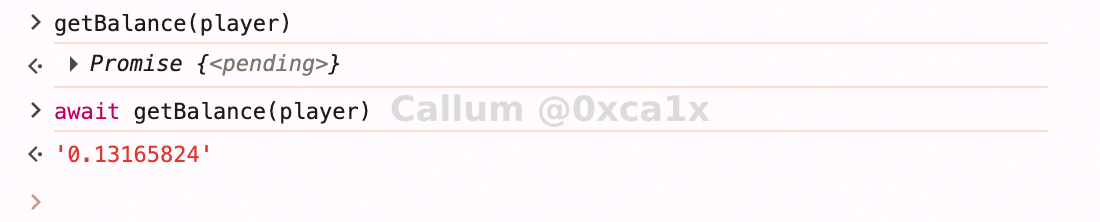
Then confirm the account actually has gas:
await getBalance(player)
And finally, ask Ethernaut what helpers it exposes:
help()
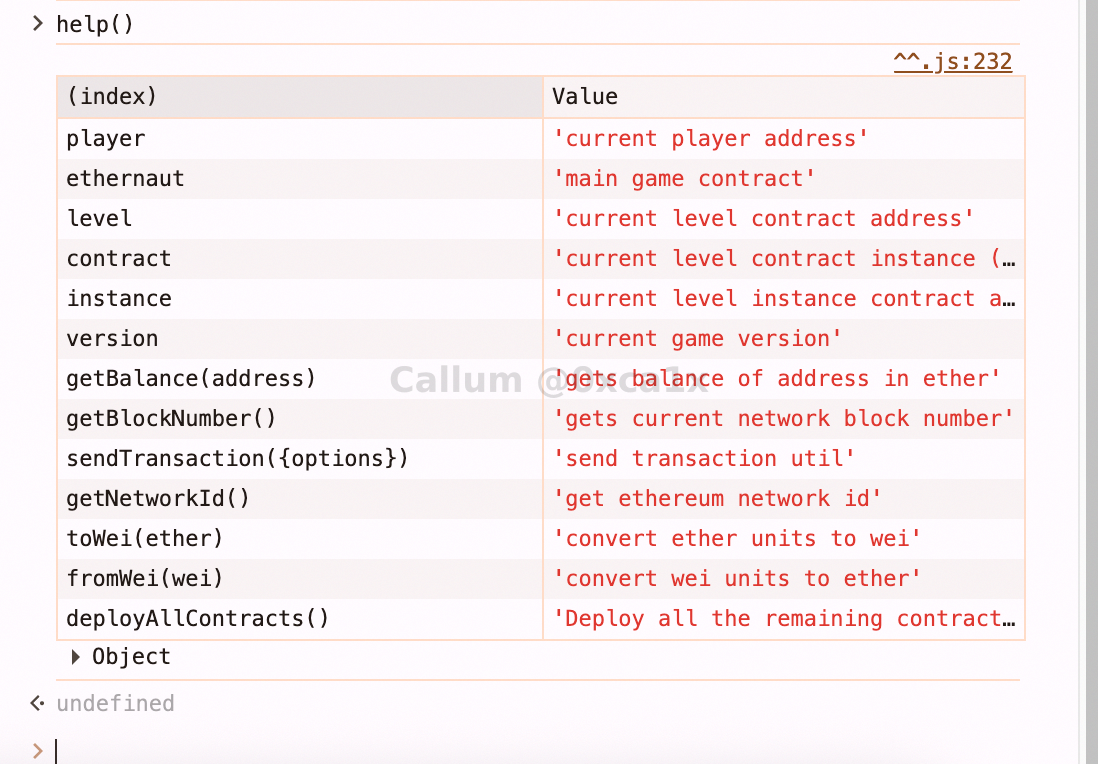
That one command tells you almost everything about the working surface of the platform: player address, current level address, current instance, contract wrapper, and a few convenience utilities.
The Two Objects That Matter
At this point there are really only two objects worth caring about.
ethernaut
This is the global game contract wrapper. It is not the challenge instance itself. It is the thing that manages levels and validation.
ethernaut
await ethernaut.owner()
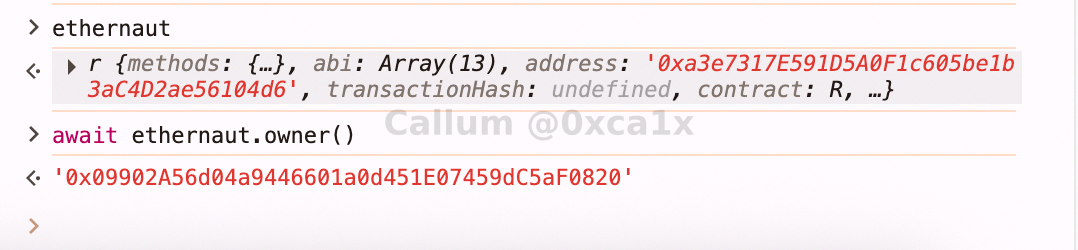
This is mostly orientation. The point is to get used to the fact that the game objects are normal contract wrappers, not magical UI-only abstractions.
contract
This is the current level instance once you have requested one. For actual solving, this is the object that matters.
Walkthrough
1. Connect the site
First, approve the wallet connection request from Ethernaut.
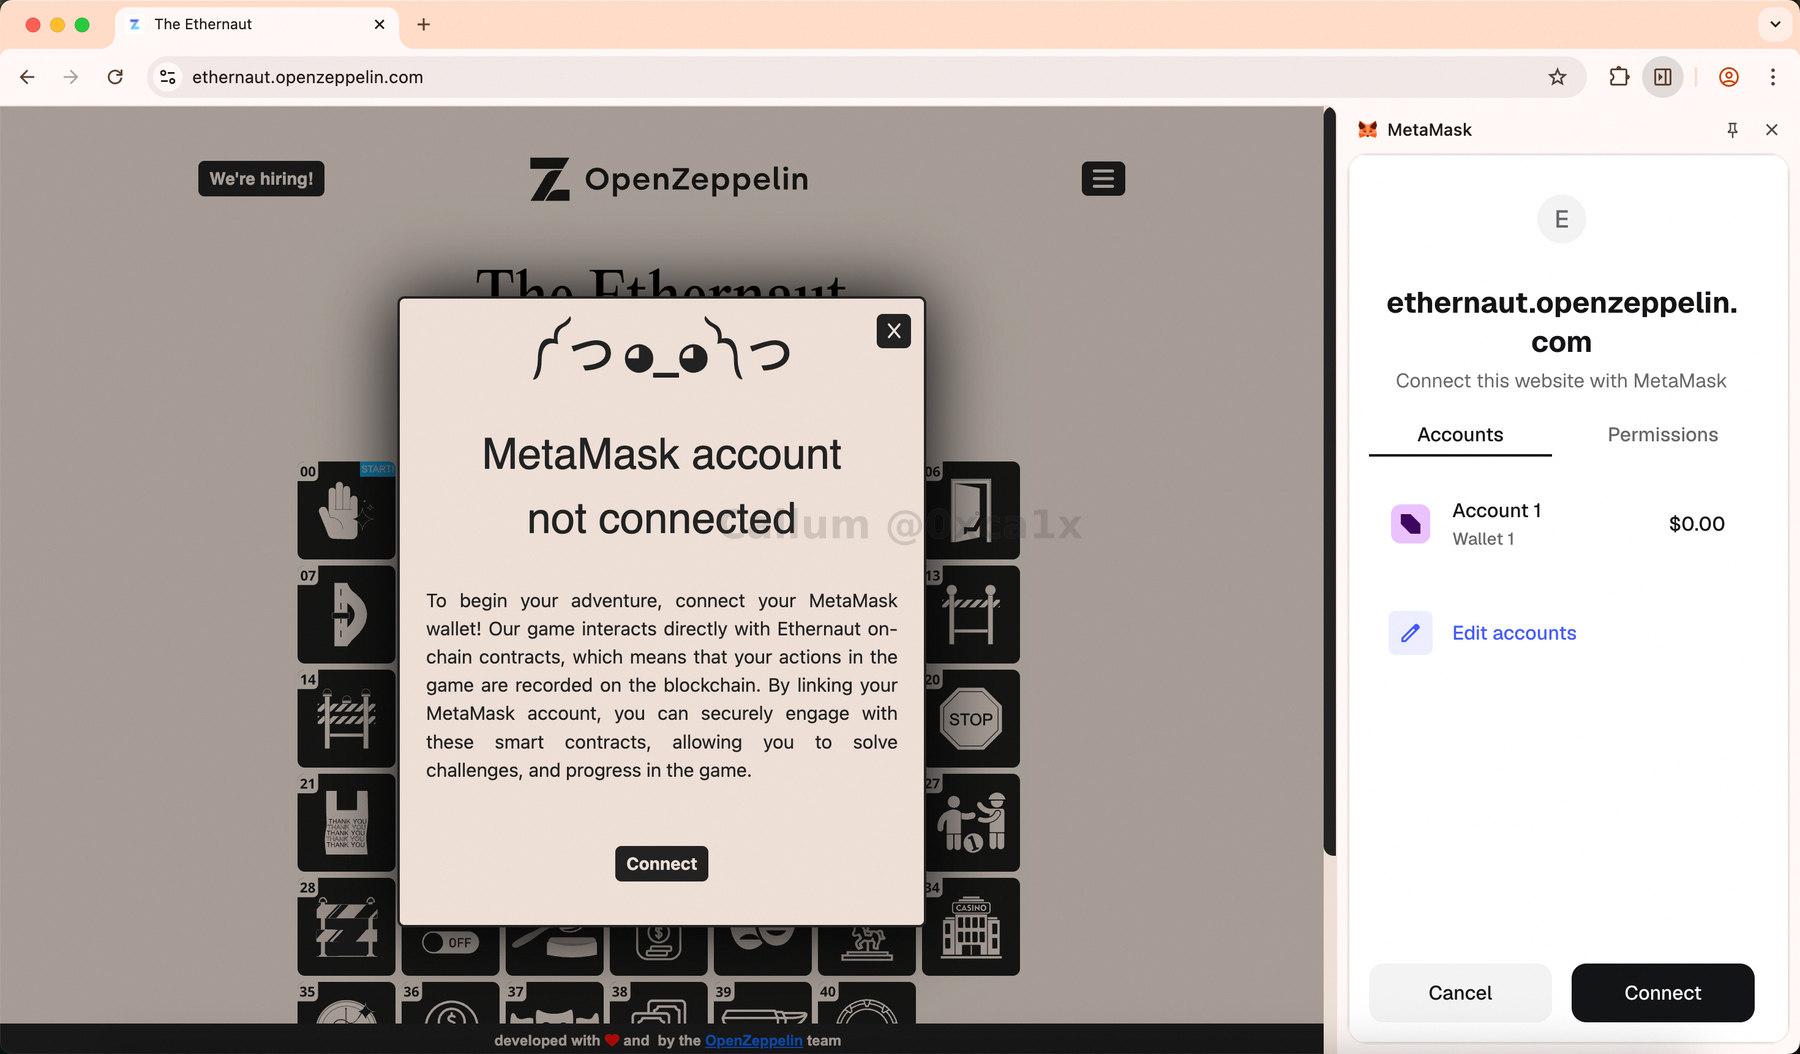
If MetaMask asks about network permissions, approve Sepolia.
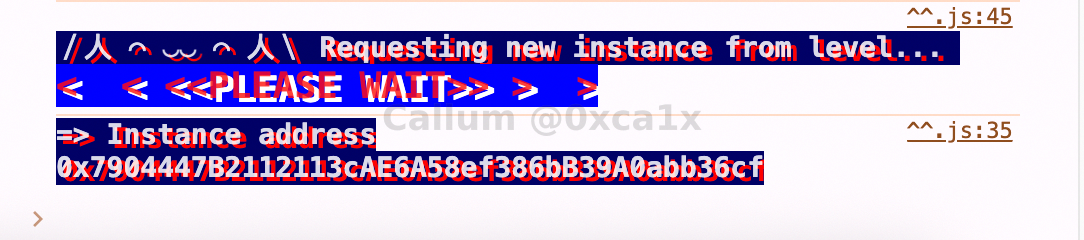
2. Request an instance
Click Get New Instance and approve the transaction in MetaMask. After deployment, Ethernaut prints the instance address in the console.
3. Follow the breadcrumb trail
This level is basically a guided tour through the contract interface. The contract keeps telling you where to go next, and the only real job is to pay attention.
The interaction chain is:
await contract.info()
await contract.info1()
await contract.info2('hello')
await contract.infoNum()
await contract.info42()
await contract.theMethodName()
await contract.method7123949()
await contract.password()
await contract.authenticate('ethernaut0')
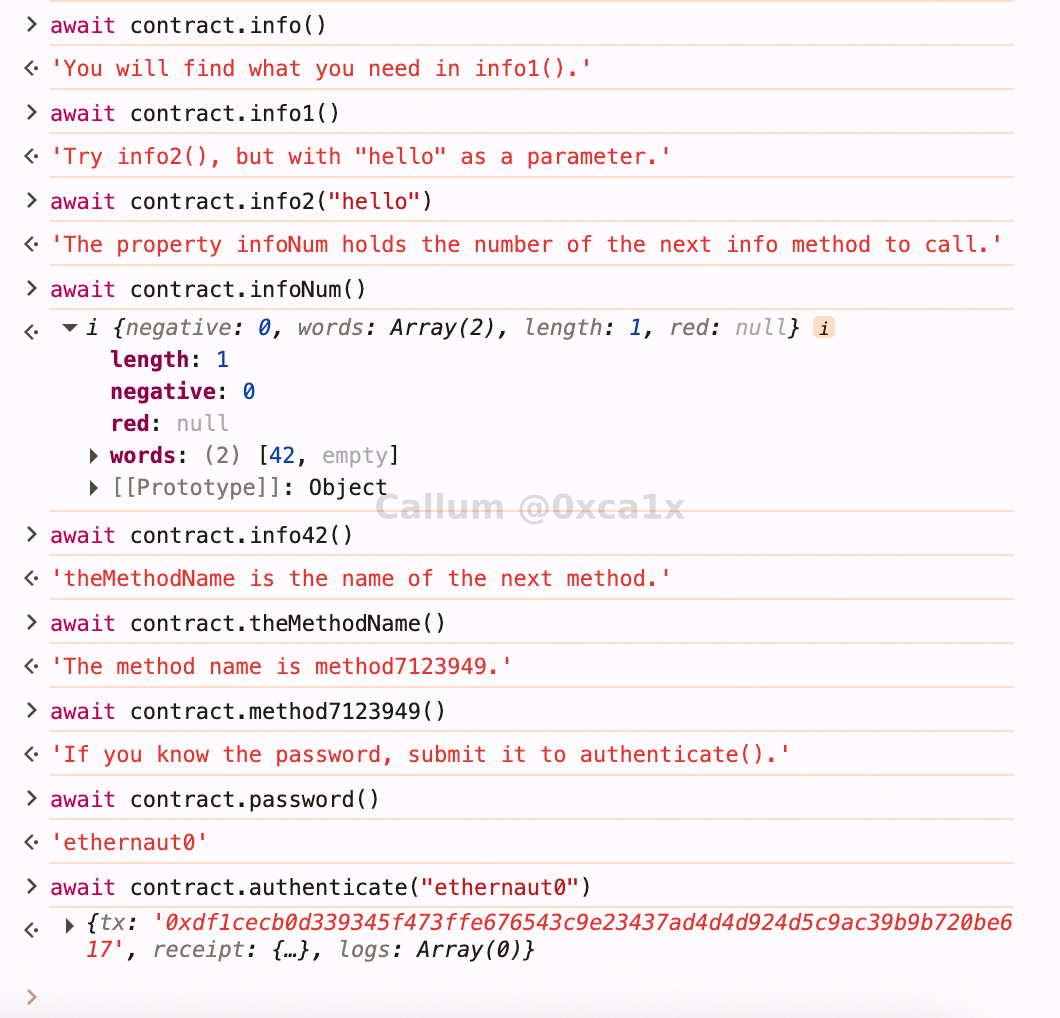
There is nothing subtle here. Ethernaut is teaching you to read the contract instead of poking at buttons and hoping for the best.
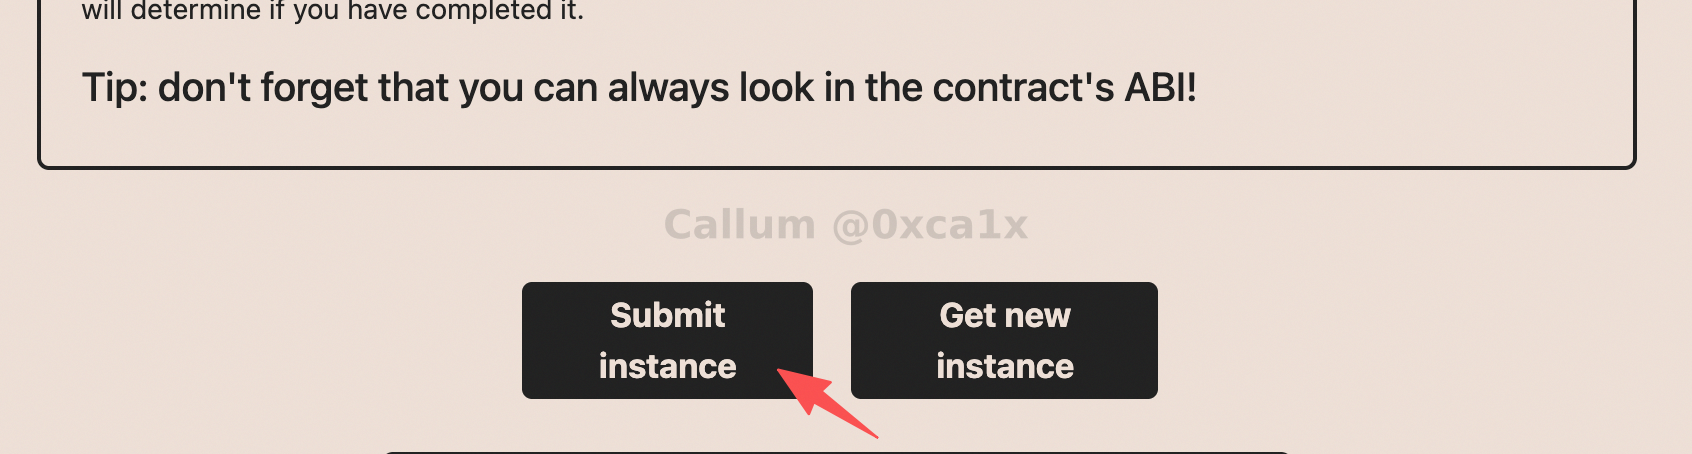
4. Submit the solved instance
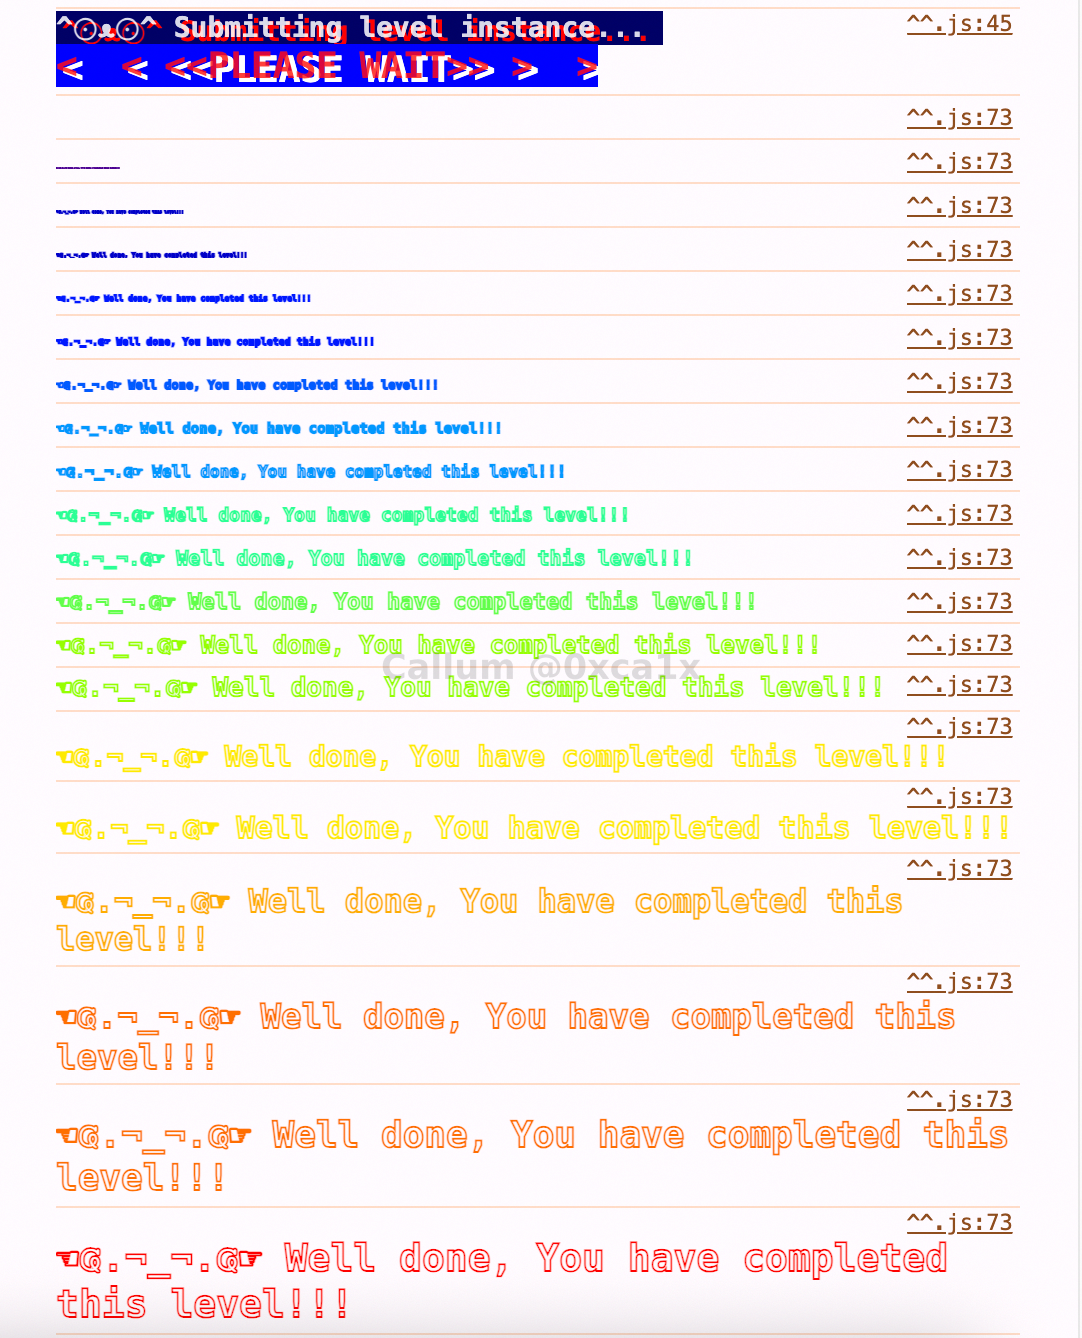
Once the interaction chain is complete, hit Submit Instance and approve the transaction.

If everything is correct, Ethernaut marks the level as solved.
What the Source Code Makes Obvious
After completion, Ethernaut reveals the source. That is where the level becomes worth reflecting on.
Here is the same contract with commentary added inline:
// SPDX-License-Identifier: MIT
pragma solidity ^0.8.0;

contract Instance {
    // Declaring this as public means Solidity automatically creates password().
    // In other words, the "secret" is readable by anyone.
    string public password;

    // This is a breadcrumb. The value 42 is meant to push the player toward info42().
    uint8 public infoNum = 42;

    // Another breadcrumb. Because it is public, the player can also read it directly.
    string public theMethodName = "The method name is method7123949.";

    // This is the real completion state for the level.
    bool private cleared = false;

    // constructor
    // The level instance is deployed with an initial password.
    constructor(string memory _password) {
        password = _password;
    }

    // First hint in the chain.
    function info() public pure returns (string memory) {
        return "You will find what you need in info1().";
    }

    // Second hint in the chain.
    function info1() public pure returns (string memory) {
        return 'Try info2(), but with "hello" as a parameter.';
    }

    // The first place where the player has to pass an input.
    // Only "hello" unlocks the next clue.
    function info2(string memory param) public pure returns (string memory) {
        if (keccak256(abi.encodePacked(param)) == keccak256(abi.encodePacked("hello"))) {
            return "The property infoNum holds the number of the next info method to call.";
        }
        return "Wrong parameter.";
    }

    // infoNum points here.
    function info42() public pure returns (string memory) {
        return "theMethodName is the name of the next method.";
    }

    // theMethodName points here.
    function method7123949() public pure returns (string memory) {
        return "If you know the password, submit it to authenticate().";
    }

    // If the supplied value matches password, the level is cleared.
    function authenticate(string memory passkey) public {
        if (keccak256(abi.encodePacked(passkey)) == keccak256(abi.encodePacked(password))) {
            cleared = true;
        }
    }

    // Helper to check whether the level has been solved.
    function getCleared() public view returns (bool) {
        return cleared;
    }
}
The flow is deliberately simple. One function points to the next until the contract finally tells you to read the password and pass it into authenticate().
The real punchline is this line:
string public password;
That is the whole lesson. The contract frames password like a secret, but the moment it is declared public, Solidity exposes it through an auto-generated getter. It is not hidden, protected, or private in any meaningful sense. You can read it directly and feed it back into authenticate().
That is why this level matters even though it is easy: it forces you to notice the difference between how something is described in the UI and what the contract actually exposes on-chain.
What This Level Is Really Teaching
The obvious lesson is "public state is public". But there is a slightly broader point underneath it:
- treat the contract interface as the source of truth
- do not assume a value is secret just because it sounds secret
- read outputs carefully because contracts often reveal the next step in plain sight
- separate what is hidden in the frontend from what is hidden on-chain
That is a real smart contract review habit, not just a game mechanic.
Why This Level Matters
This level is easy on purpose, but the workflow it teaches is exactly the workflow that keeps showing up in Ethernaut:
- connect a wallet
- get onto the right network
- fund the account
- inspect the console helpers
- read the public interface
- create an instance
- interact with the contract
- submit the result
Once that loop feels normal, the later levels become much less awkward.
Completion Criteria
This level is done once you can:
- connect a wallet successfully
- get onto Sepolia with enough gas
- create a level instance
- follow the contract's public hint chain
- submit the solved instance
Takeaways
- This is onboarding, not exploitation.
- The browser console is part of the game, not an optional extra.
- Public variables are not secrets.
- Reading the contract is usually more productive than guessing from the UI.
- Getting your wallet, network, and faucet setup right saves a lot of time later.